Home
Shop
Stories
Treehouse + Cabin
Sources
Gallery


Shop our instagram
series: Shop our home

Shop our instagram
series: Shop our home


Have you ever had an idea that hit you right between the eyes and you thought to yourself:
“I must do it*…I must do it*…..STAT.”
BANG.
Boom.
Do it.
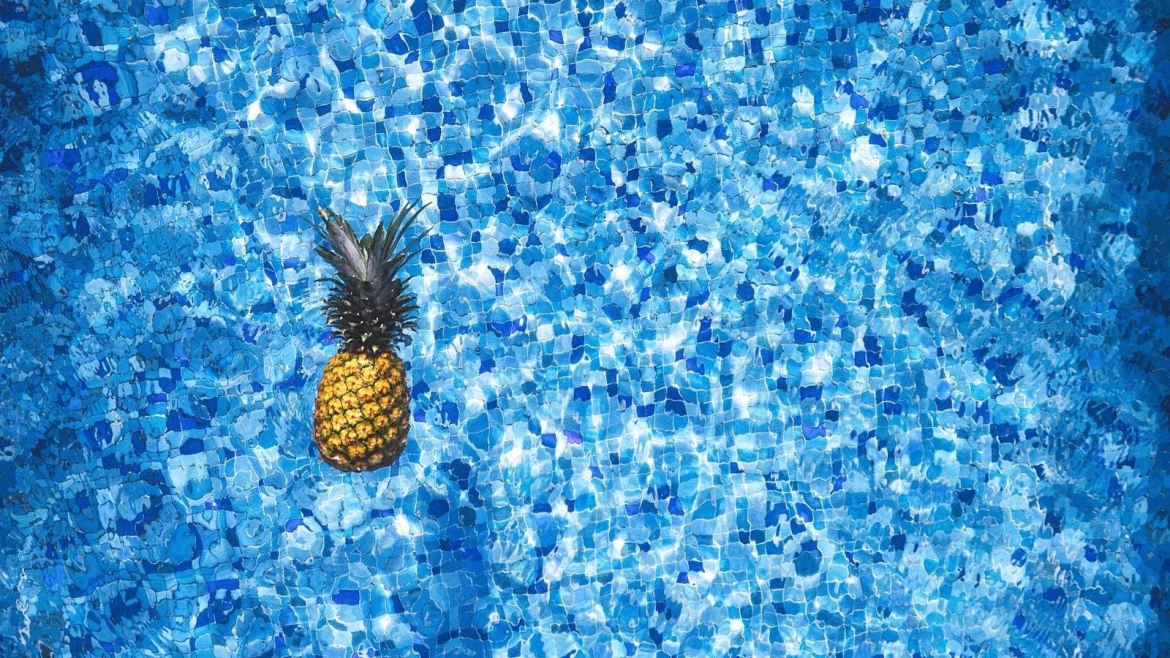
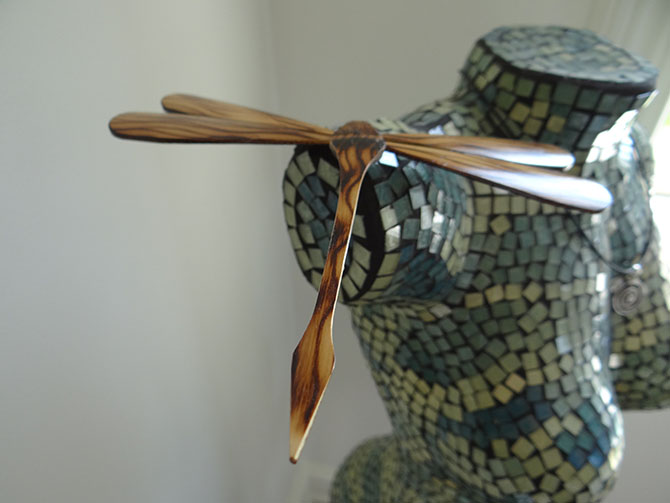
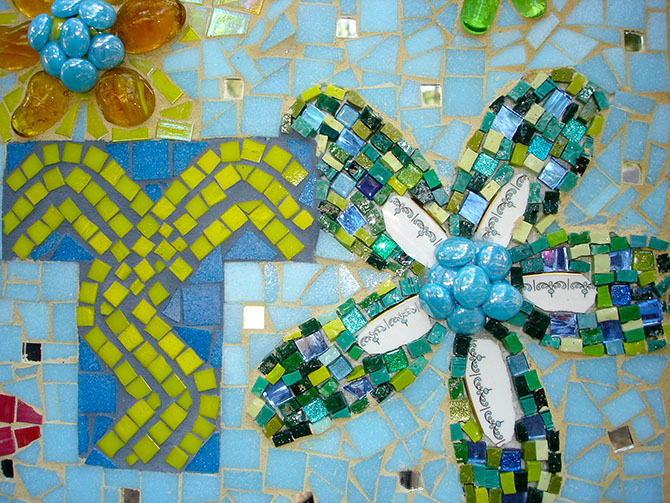
Here’s some mosaic inspiration for you …..

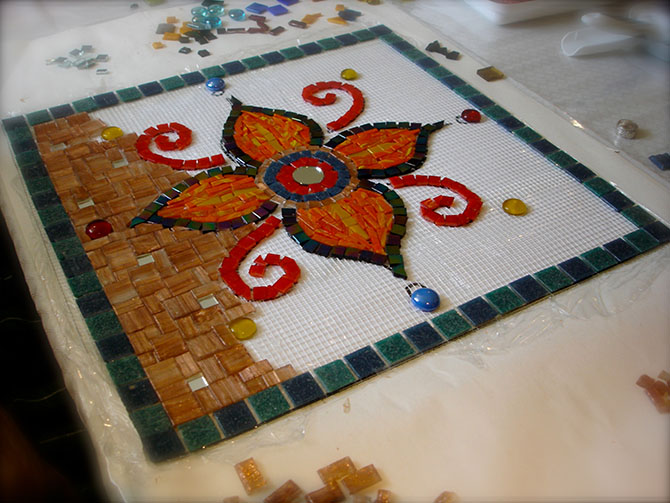

You can put your funky ideas together … piece by piece.
Peace by piece.
As a blogger, we are saddled gifted with ideas becoming blog posts in our heads before we even do the freaking idea.
It just happens like that. You think in ‘blog posts’.
It’s a bloggers disease bliss. Bloggers elbow.
You think in blocks of bloggerness.
E.v.e.r.y.t.h.i.n.g is a blog post.
Truth. Gospel idiotic blogger truth.
Then….oh then… comes the blogstipation. Suddenly, you have the ideas but the words won’t land on your computer keyboard.
As a blogger, you never want to waste a word.
Then, oh then ~ an idea that you thought would go viral, collects dust on your blogger shelf. What a son of a bitch. That’s not fair. What up wit dat?
Next… An idea that you pulled out of your wahzoo becomes one of the most popular posts on your blog. Wtf? OMG. I think I need a drink.
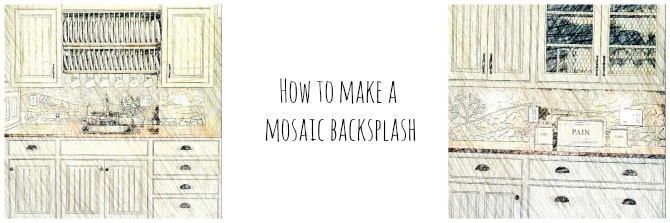
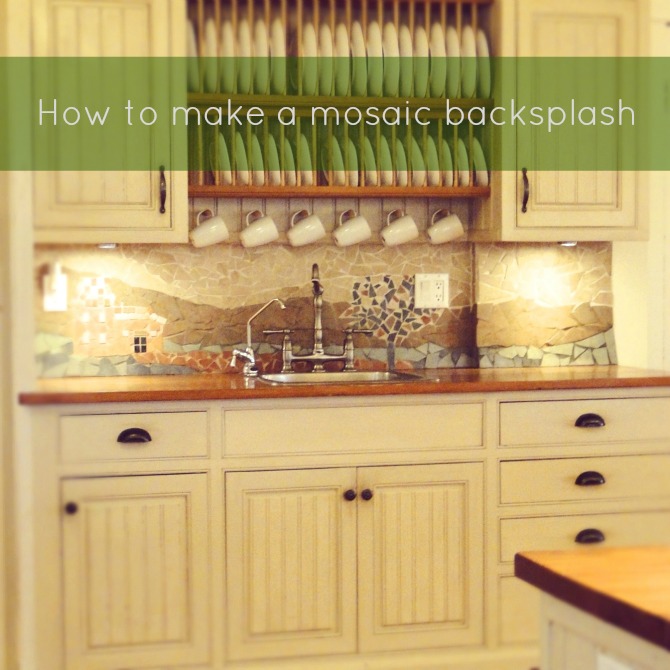
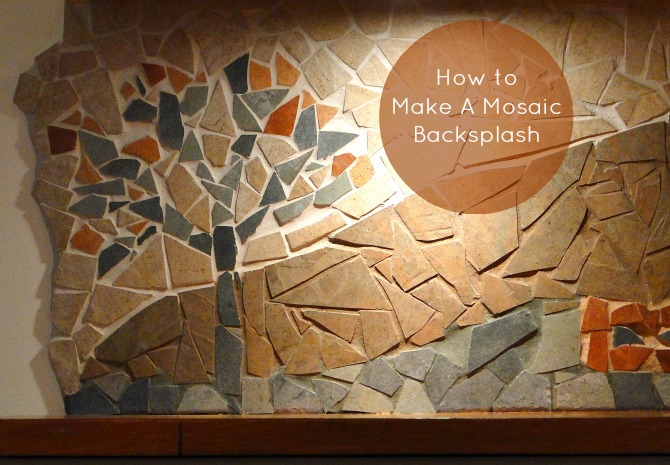
The mosaic backsplash was one of those ideas. I didn’t really plan it. I just did it. I grabbed a crayon from the drawer one day and drew it. I’m skilled with drawing stick men, so I figured this sketch was a no-brainer. Somehow crayons are always in my drawers, even though all my kids stopped using them about a billion years ago.
Everyone loved the mosaic backsplash (including myself, surprisingly) for a very long time.
Like 10 years ~ long time.
Then I wanted to punch it in the head.
So I did.
This week, I smashed it to oblivion. Not gonna lie, it felt pretty damn good.

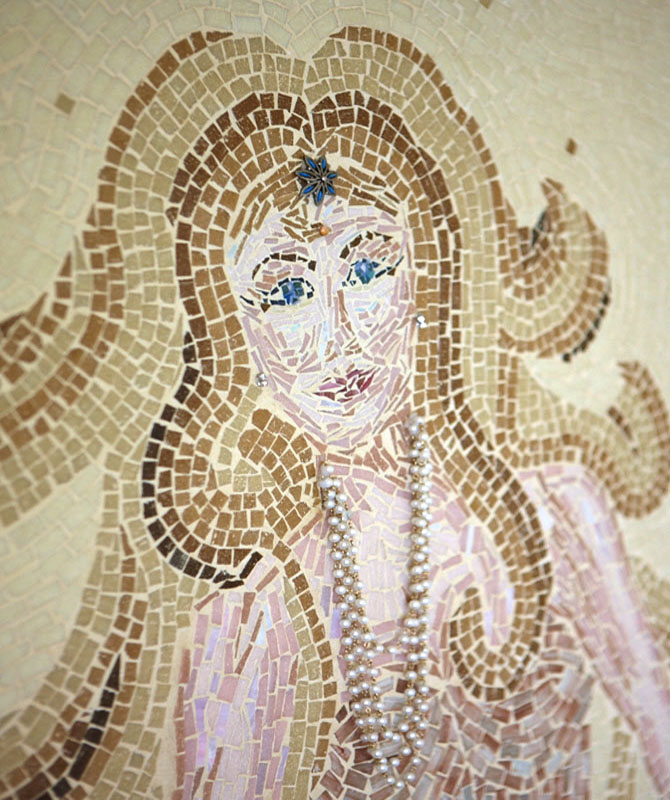
Before I was a blogger, I was an insane mosaic artist. Everything I saw had the potential to become a mosaic.
If something wasn’t moving, I mosaic-ed it.
I became a mosaic artist. Mosaics were in my line of sight for forever years. Like blogging now, all I could think about at the time was mosaics. I ate and drank mosaics like it was nobody’s business.
I even had a pink suede tool belt {insert embarrassment} for my mosaic work.
Thankfully, I didn’t have a mullet too.
I had to draw the line somewhere.
The Mosaic Backsplash Project :
I wanted to create a backsplash with a total budget of $40. No lie. Forty bucks.
The whole shebang.
Big backsplash spender, huh?
I know. I know.
Champagne taste with a soda pop pocketbook.
Guess what ?! Now you can to do it too.
It’s epic. Give it a try!

SUPPLIES TO CREATE A MOSAIC BACKSPLASH :
1. Tile :
I went dumpster diving in the local tile shop dumpster. Yes, I felt the need to save twelve dollars at the time. Wahhheird. Another easy solution is to just walk into Home Depot or Lowes and buy your tile. It’s a little less embarrassing too. You can use any kind of tile, decorative jewellery, found objects, pebbles, river rocks….any kind of funkiness. The sky is the limit.
2. Tile adhesive
Tile adhesive looks like whipped cream. Fluffy, white whipped cream. Officially, you shouldn’t be dipping your fingers in that gnarly bucket ~ but I did. It was easy. My finger was already attached to my hand. I didn’t have to go looking for that tool.
Note: It may LOOK like whipped cream, but it doesn’t taste like it. Just sayin’.
3. Hammer
And a smashing good sense of humour.
4. Safety Glasses
My hubs is Elmer the Safety Elephant when it comes to safety first. Whateves. Let’s just pretend that I wore my ugly safety glasses. But of course. Dork. I shut my eyes. It worked.
5. Bandaids ( self-explanatory)
I just told you that I skip the safety glasses, and I think that tile adhesive looks like whipped cream. Nuff said.
6. Cupcakes
You will need a sugar high to finish the job.
HOW TO MAKE A MOSAIC BACKSPLASH
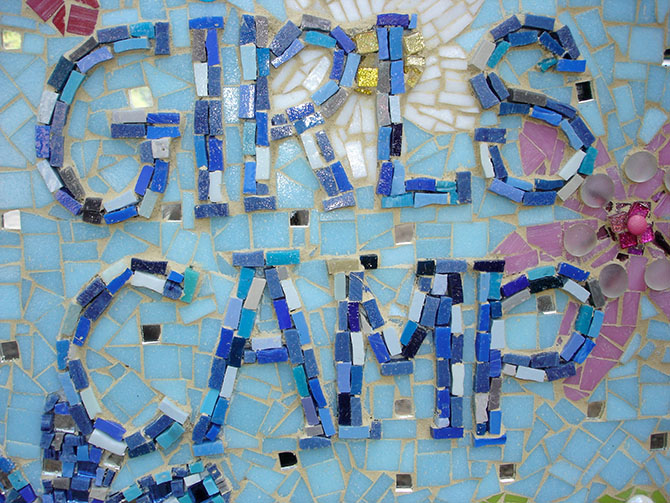
1. Draw your pattern on the wall
This is where it gets technical. Go find a marker. Or crayons. Draw a SIMPLE pattern on your wall. Remember that ceramic tile is a fairly large tile. It is not dainty. If you do an intricate pattern, you will go MAD. I don’t want to do that to you.
If it isn’t fun, don’t do it.
Remember the KISS rule = Keep it simple stupid.
2. Prepare your tile mosaic pieces
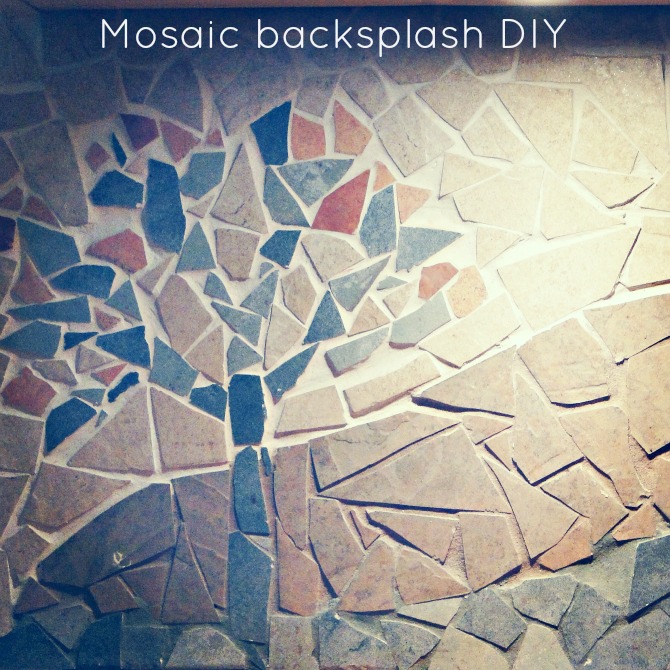
Lay the tile face down on a soft surface (carpet mat, old towel or cardboard box). The front tile surface is less likely to break off or crack if you hit the backside of the tile with your hammer. If you look in the photo below, you can see a chip in the tile. Avoid that. Clearly, I was dumb. Once.
3. Tile adhesive
Be careful …remember…tile adhesive looks like whipping cream. Don’t be alarmed if you want to lick your finger. You may be high from the scent of the adhesive and not thinking straight.
Keep calm and carry on.
You can use a technique called ‘back buttering’. What that really means is to evenly distribute your adhesive individually on the back of each tile piece. Just dip into the adhesive and glob some adhesive on the tile. Not too much, not too little. Be careful to keep your hands fairly clean as you work. If you get excess adhesive on the front of the tile, you are going to be mad at yourself later. Be sure to remove excess adhesive off of the front of the tile while it is still wet.
Easy – sneezy – breezy – wonderful you.
Work in small batches until you feel confident. That could be by the year 2019. Jokes.
4. Pay attention to the edges of your pattern :
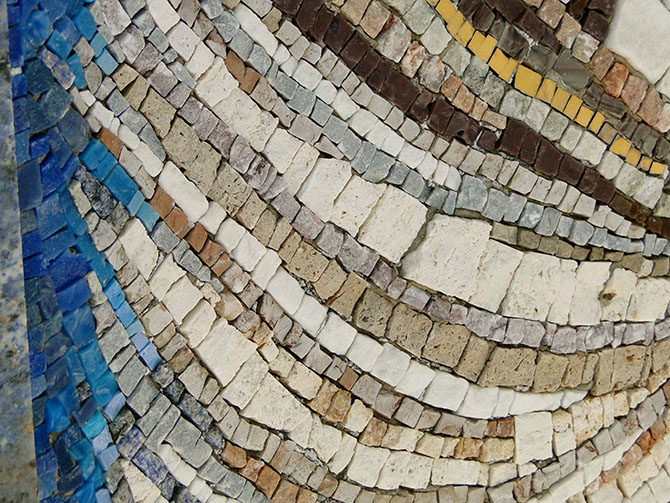
As you lay your tile into each area, be sure to follow the outer lines of your pattern/scene. The inner pieces may be randomly placed, but you want those outer edges to be a clear outline or edge. Be sure to do the outer edges of each section first.
5. Cure for 48 hours
This will allow for strong adhesion of that tile to the wall before you get slap happy with the grout.
6. Get ready for the scary part. Evil grout.
Grout always scares the bejesus outta me.
Mix your grout according to package directions. Add water to the grout until it is the consistency of cake batter. Let it sit for about 5 minutes. Take a sip of a very strong liquor. You will need it.
Work in small batches until you get comfy with it. You can use a grout float to spread the grout. I didn’t. I stole the rubber gloves from under my sink and with a gloved hand, I dipped my hand into the grout bucket.
Spread the grout over a small manageable area of tile. Get ready for a hot flash. Take a deep breath. Sip your liquor.
Let it dry for about 5 minutes or so and lightly wipe it off. Don’t wipe it too hard. You want that grout to set in between the cracks. Wait for another 5 minutes and wipe again. Repeat this process until your tile is as clean as a whistle. A slight haze is okay. You can buff again a little later. Always wipe with a dry cloth or strong paper towel. Always. Ignore the stupid box instructions that say to work with a damp sponge. Talk about spreading the mess around with wetness.
Dry cloth method rules the roost. Every. Single. Time.
7. Sanded grout
Lay plastic on your countertop for grouting. I prefer to work with sanded grout. Why? Because as you wipe the grout off of your project, it will fall like sand on to the plastic. It looks like beach sand aka island bliss. When you are done, roll up the plastic and your work is done. Tahhh dahhh ! Kitchen goddess extraordinaire.
8. Invite your friends to come and admire your brilliance.
Encourage hand clapping, high fives and pats on the back.
CONGRATULATIONS !!!
You are officially a Grout Goddess (or Grout Maverick).
Celebrate !
Got a question ? Ask it….
I promise not to punch you in the head or smash anything to smithereens. Been there. Done that.
Mi casa es su casa.
Want to receive the blog posts directly in your email inbox ? Click in the footer of the blog and enter your best email addy. Our newsletters are not the boring kind. I promise. No spam in a can.